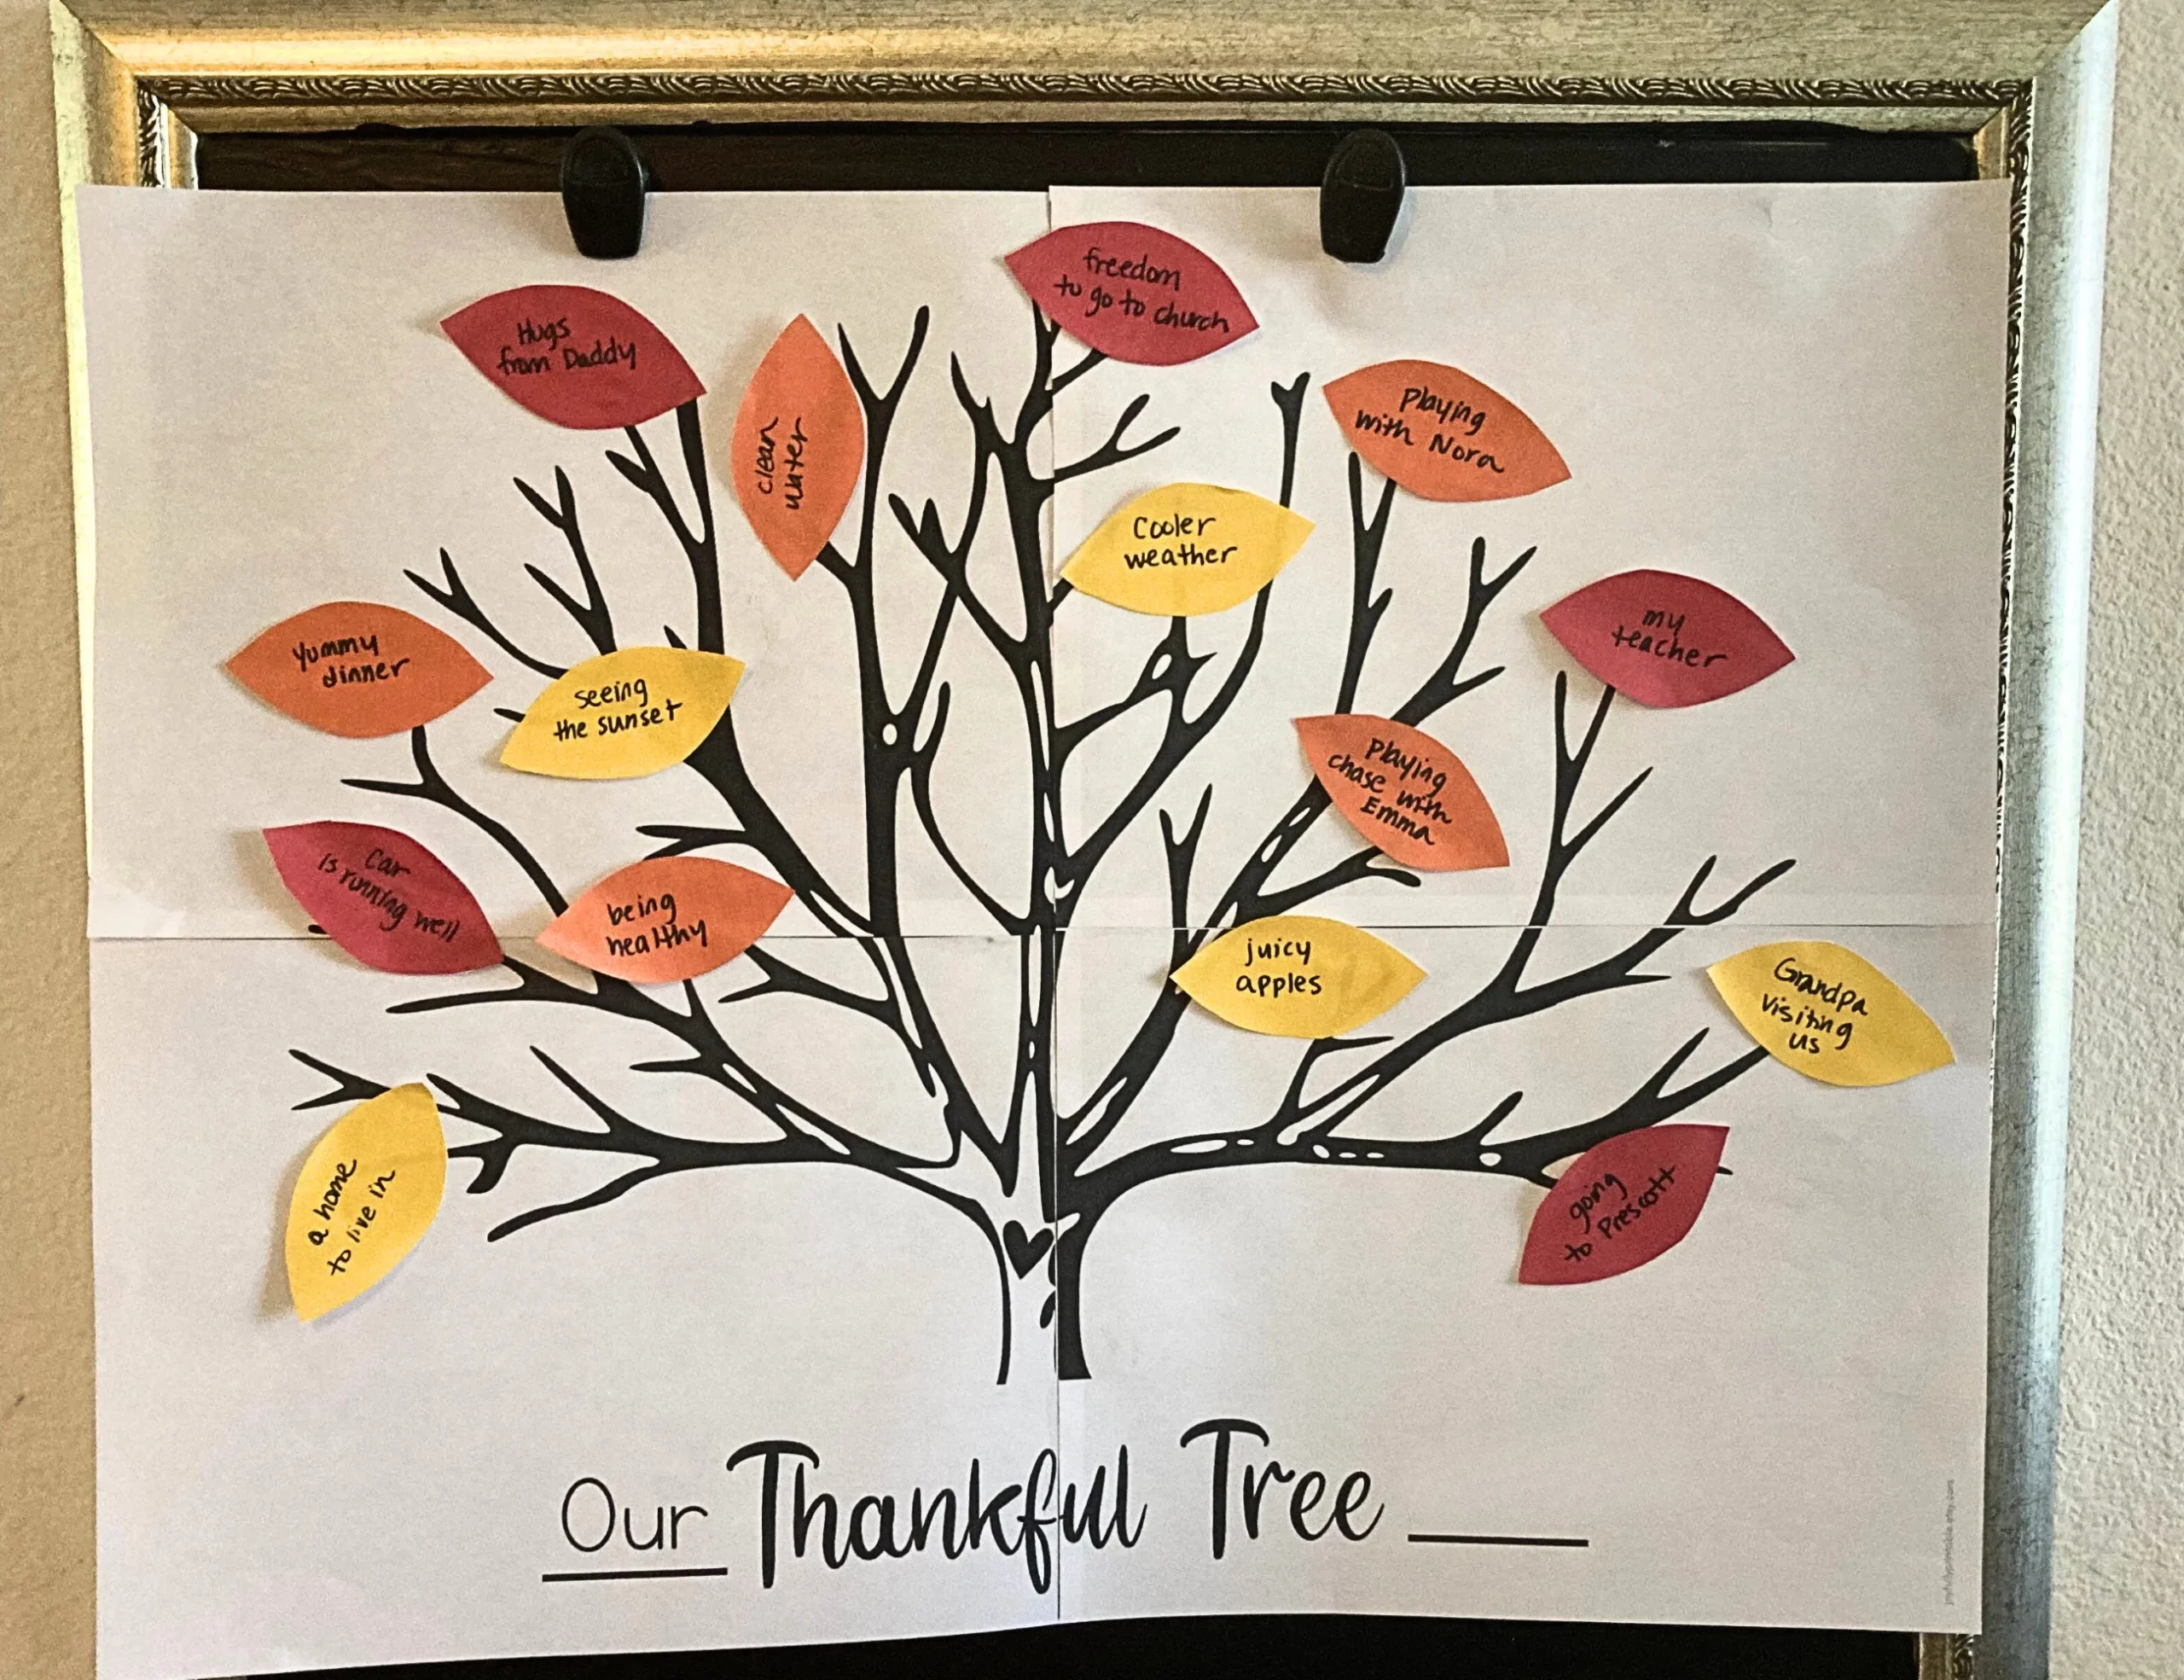
Cooler weather, leaves are falling…and you know what that means? Thanksgiving is just around the corner. But before the potential busy holiday season begins, now is the perfect time to start an easy and super meaningful family tradition…
A thankful tree!
I have been doing the thankful tree tradition since I was in kindergarten, so I’ve seen a few over the years and have learned a thing or two. First, let me explain what a thankful tree is, tips to keep in mind, and three different ways to make one.
What Is a Thankful Tree?
Some people refer to a thankful tree as a “thanksgiving tree” or “gratitude tree,” but my Mom always called it a thankful tree, so that’s what I call it too.
A thankful tree is simply a tree you place somewhere in your home and write what you’re thankful for on different leaves. It can be as simple as a hand drawn tree on a piece of paper or as complex as an actual tree branch with leaves you string and hang like ornaments. As you add more things you’re thankful for, your tree becomes filled with leaves of gratitude!
The purpose behind the activity is to focus on the abundance of things, people, and experiences we have to be grateful for as we approach Thanksgiving. That’s why I love it! It is an opportunity to be intentional about gratitude…and see our bare tree branches become completely covered.
(In fact, slowing down and savoring is one of the reasons why I started Joyfully Printable.)
When Should I Start?
You can start a thankful tree any time, but I’d recommend picking a time around Thanksgiving. The most common times I’ve heard include:
- November 1st (my favorite!)
- The Sunday before Thanksgiving
- Thanksgiving Day (great for family gatherings)
In addition to thinking of what you’d like to start, also consider what time of day.
For my family, that’s dinnertime.
We simply keep a bowl of cut paper leaves on the table along with glue and pencils. Before being excused from the table, we each pick a leaf and write something we’re thankful for on our own leaves. Then we go around the table, share what we wrote, and glue them on our thankful tree poster. (Note: For pre-writers I’ve found it’s affirming to let them try to write or draw and then you can add a caption with the words they say.)
Whatever time you choose, the point isn’t to “do it right” but to focus on gratitude! Because what you focus on, you’ll start to see more of around you. And gratitude is the key to a more joyful life.
How To Make a Thankful Tree
The “best” way to make a thankful tree is the one that you’ll actually do! I’ve tried each of these three methods, and it really comes down to how much time you want to invest in the project. Let’s start with the simplest way.
Idea 1: Personal Size

Materials:
- Copy paper or mini tree printable (instant download)
- Marker
- Optional: construction paper, scissors, glue
Print or draw a basic tree with a trunk and branches. Each day draw a leaf and write something you’re thankful for. If you’d like you can also cut out small leaves (an almond shape is easiest) and glue them on the tree.
Then keep your personal thankful tree somewhere you’ll see it often. Keeping it on a clipboard is a great idea because you can easily hang it on a tack or hook and take it down as needed.
Idea 2: Poster

Materials:
- Poster board, roll paper (cut to desired size), or DIY poster printable
- Marker, pencils, pens, or crayons
- Construction paper (brown, red, yellow, orange)
- Scissors
- Glue
- Optional: die-cut leaves
If using roll paper or poster board, either draw a tree and branches or cut and glue brown construction paper to form them. You can color in the sky and grass if you’d like (kids enjoy doing this). Don’t worry about being perfect as it will likely all be covered with leaves soon.

If you are a fan of printables, I’ve got one for you! I made this printable poster a few years ago and it makes this tradition super easy. Just print the four pages and follow the notes on where to cut and glue to assemble the poster.
Once the poster is done, cut out leaves from construction paper. It’s easiest to make an almond shape. If you don’t want to cut leaves you can also purchase die-cut leaves from a craft store. Then hang your poster and put your leaves, glue or tape, and writing utensils in a bowl or baggie nearby.
Idea 3: Branches in a Vase
Materials:
- Sticks or small branches
- Vase or jar
- Rocks
- Twine or yarn
- Scissors
- Cardstock
- Hole punch
- Optional: die-cut leaves
Head outside to find some sticks or small branches! Choose the one(s) you like best to place in a vase filled with rocks so it doesn’t tip. Use cardstock to cut out leaves or purchase die-cut leaves if desired. Punch a hole in each leaf. Next, cut twine or yarn and tie it onto the leaves like an ornament. Place your leaves and vase somewhere you’ll see them, such as a dining room table.
Tips to Keep in Mind
I’ve done a thankful tree by myself, in my classroom with my students, with my husband before we had kids, and now as a family with kids. In each setting, there are a few universal tips that help.
Tip #1 – Supplies
Keep your leaves, writing utensils, and tape/glue near the tree. Find a bowl, caddy, tray, baggie, envelope – whatever you have – to keep everything in. This helps make it easy to remember to actually do the thing!
Tip #2 – Location
Keep your tree where you plan to write your gratitude and if you can, place it at a low enough height that your kids can reach it (or easily be lifted to reach it). We keep ours by our dining room table.

Tip #3 – Photo
If you don’t like clutter, take a photo of your tree when you’re done rather than saving it. Make a digital album of it, or a hard copy album you can flip through each November. It’s also sweet to have your family or kids next to the tree and see them grow over the years.
Personally, I take a photo on Thanksgiving with my kids next to the tree and then store the image on Google Photos in a digital album. But before I did that, I had 10 years worth of trees…and I never looked through them! So in our last move I decided to let them go.
Tip #4 – Calendar
If you’d like to make this a recurring tradition, it is helpful to put a repeating reminder on your calendar. Since I like to start November 1, I have a recurring yearly reminder set a few days before then. And it really does help!
Final Thoughts
Whether you make it personal sized, poster sized, or find real branches, a thankful tree is a fun, easy, and meaningful Thanksgiving tradition! Since you can use simple supplies like copy paper, construction paper, scissors, and glue, you probably already have everything you need to get started.
And if you’re not quite sure you’re ready to try but love the idea, save the pin below to your favorite Pinterest board.
“When one has a grateful heart, life is so beautiful.” – Roy T. Bennet

Want your fall to be meaningful?
Here are some of my favorite fall ideas.
- You’ve Been Booed! – A fun way to spread joy to your neighbors or co-workers
- Fall Bucket List – Be intentional with all the fall things you want to do
- Gratitude Journal – Go deeper with a daily gratitude routine
Get more freebies like this sent straight to your inbox each week. Subscribe below ⬇️